How to Screenshot on Windows: Taking screenshots is a valuable skill for anyone who uses a computer. Whether you’re a student capturing notes, a business professional sharing information, or a casual user wanting to save an image, knowing how to screenshot on Windows is essential. There are several ways to capture your screen on Windows, depending on your needs.
This guide will walk you through the different methods and explain which one might be best for you.
How to Screenshot on Windows: Trick with Print Screen Button
The most basic way to take a screenshot on Windows is by using the Print Screen (PrtSc) key. This key is typically located on the top right side of your keyboard, next to the F12 key.
Here’s how to use it:
- Press the Print Screen key once.
- Your entire screen will be captured, but it won’t be saved anywhere automatically.
- To save the screenshot, you’ll need to open an image editing program like Paint or Photoshop.
- Once the program is open, press Ctrl + V on your keyboard to paste the screenshot.
- Finally, save the image using the program’s “Save” function.
This method is a quick and easy way to capture your entire screen, but it has limitations.
- No editing options: You can’t edit or annotate the screenshot before saving it.
- Not automatically saved: You need to remember to paste and save the image manually.

How to Screenshot on Windows: Using Alt + Print Screen
This method lets you capture only the active window you’re currently using, rather than the entire screen.
Here’s how to use it:
- First of all, activate your window to capture what you want.
- Hold down the Alt key and press the Print Screen key at the same time.
- Similar to the single Print Screen key method, the screenshot will be copied to your clipboard, but not automatically saved.
- Open an image editing program and paste (Ctrl + V) the screenshot to save it.
This method is useful when you only need to capture a specific program or window.
How to Screenshot on Windows: Using Snipping Tool
The Snipping Tool is a built-in Windows program that offers more flexibility than the Print Screen key methods. It allows you to capture specific areas of your screen, rectangular or free-form shapes, and even capture a window delay.
Here’s how to use Snipping Tool:
Search for “Snipping Tool” in the Windows search bar and open the program.
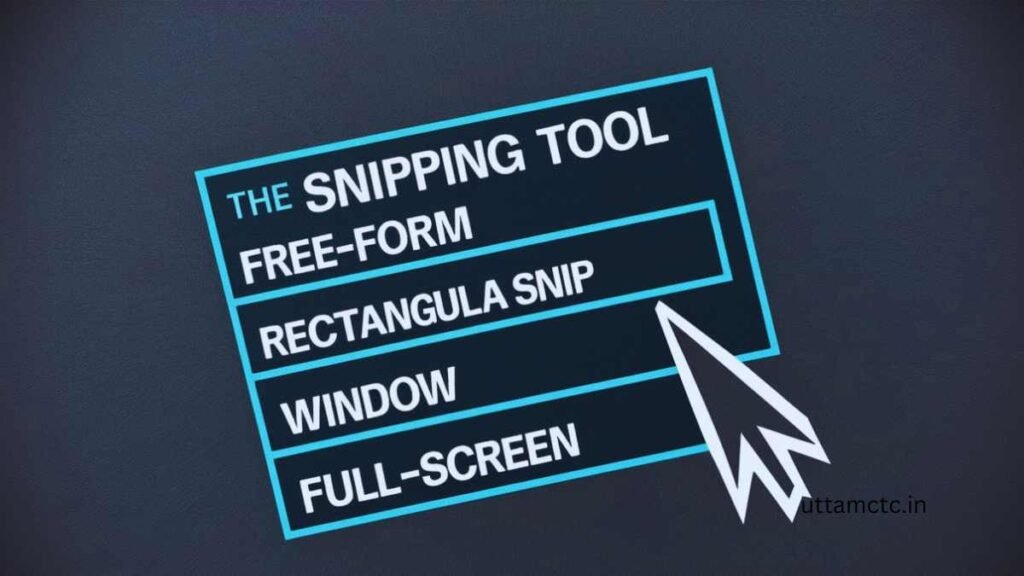
The Snipping Tool window will appear with four options:
- New: This starts a new snip.
- Mode: Choose between Rectangular Snip (default), Freehand Snip, Window Snip, and Full-screen Snip.
- Delay: Set a delay (in seconds) before the snip is captured. Useful for capturing drop-down menus.
- Cancel: Closes the Snipping Tool.
- Select your desired snip mode.
- Select the area that is to be captured by dragging the mouse. The Snipping Tool will highlight the selected area.
- Once you are ready with the selection, now release the mouse button.
- The screenshot will be captured and displayed in the Snipping Tool window.
- You can now edit the screenshot (add notes, highlight areas) using the built-in tools.
- Click the “Save As” button to save the screenshot to your desired location on your computer.
The Snipping Tool offers more control over your screenshots, making it a great choice for students taking notes, business professionals sharing specific information, and anyone who wants to edit their screenshots before saving them.

How to Screenshot on Windows 10 and 11: Using Windows Key + Print Screen
With Windows 10 and 11, there’s a faster way to capture your entire screen and automatically save it.
- You have to press the Windows Key button and the Print Key button together.
- The screen will dim momentarily to indicate the capture, and your screenshot will be automatically saved in the “Screenshots” folder within your Pictures folder.
- This method is ideal for quickly capturing your entire screen without needing to open additional programs.
Read Also: Screen Shot Shortcut Key in Windows 11
How to Screenshot on Windows: Third-Party Screenshot Tools
While the methods mentioned above are built-in Windows functionalities, there are also various third-party screenshot tools available for download. These tools are additional features like:
- Automatic naming and organization: Easily name and save screenshots with automatic numbering or custom naming conventions.
- Scrolling screenshot capture: Capture full-page webpages or long documents that extend beyond the visible screen.
- Annotation tools: Add arrows, text boxes, and other annotations to your screenshots before saving.
- Screen recording: Some tools allow you to record your screen activity for creating tutorials or presentations.
How to Screenshot on Windows: some popular third-party screenshot tools
- Lightshot: A free and lightweight tool that allows for quick captures and basic editing.
- Snagit: A more advanced tool offering a wide range of features, including scrolling screenshots, annotation tools, and screen recording. (Paid)
- Greenshot: An open-source tool with a user-friendly interface and customization options.

Choosing a third-party screenshot tool depends on your specific needs and preferences. If you need basic functionality, the built-in Windows methods might suffice. However, for advanced features like scrolling capture, annotation tools, and screen recording, a third-party tool could be a valuable addition to your software arsenal.
Conclusion: How to Screenshot on Windows – The Best Method for You
The best way to screenshot on Windows depends on your individual needs and preferences.
Here’s a quick recap:
- For basic capture of your entire screen: Use the Print Screen key or Windows Key + Print Screen (Windows 10/11).
- For capturing a specific window: Use Alt + Print Screen.
- For capturing specific areas and editing screenshots: Use Snipping Tool.
- For advanced features like scrolling capture, annotation, and screen recording: Consider a third-party screenshot tool.
No matter which method you choose, knowing how to screenshot on Windows is a valuable skill that can save you time and effort.From capturing class notes to sharing work information, screenshots are a handy tool for anyone using a Windows computer.
Welcome to Uttam Computer! I’m Rakesh Sharan, the creator and author behind this blog, With a deep passion for technology and years of experience in computer training…


